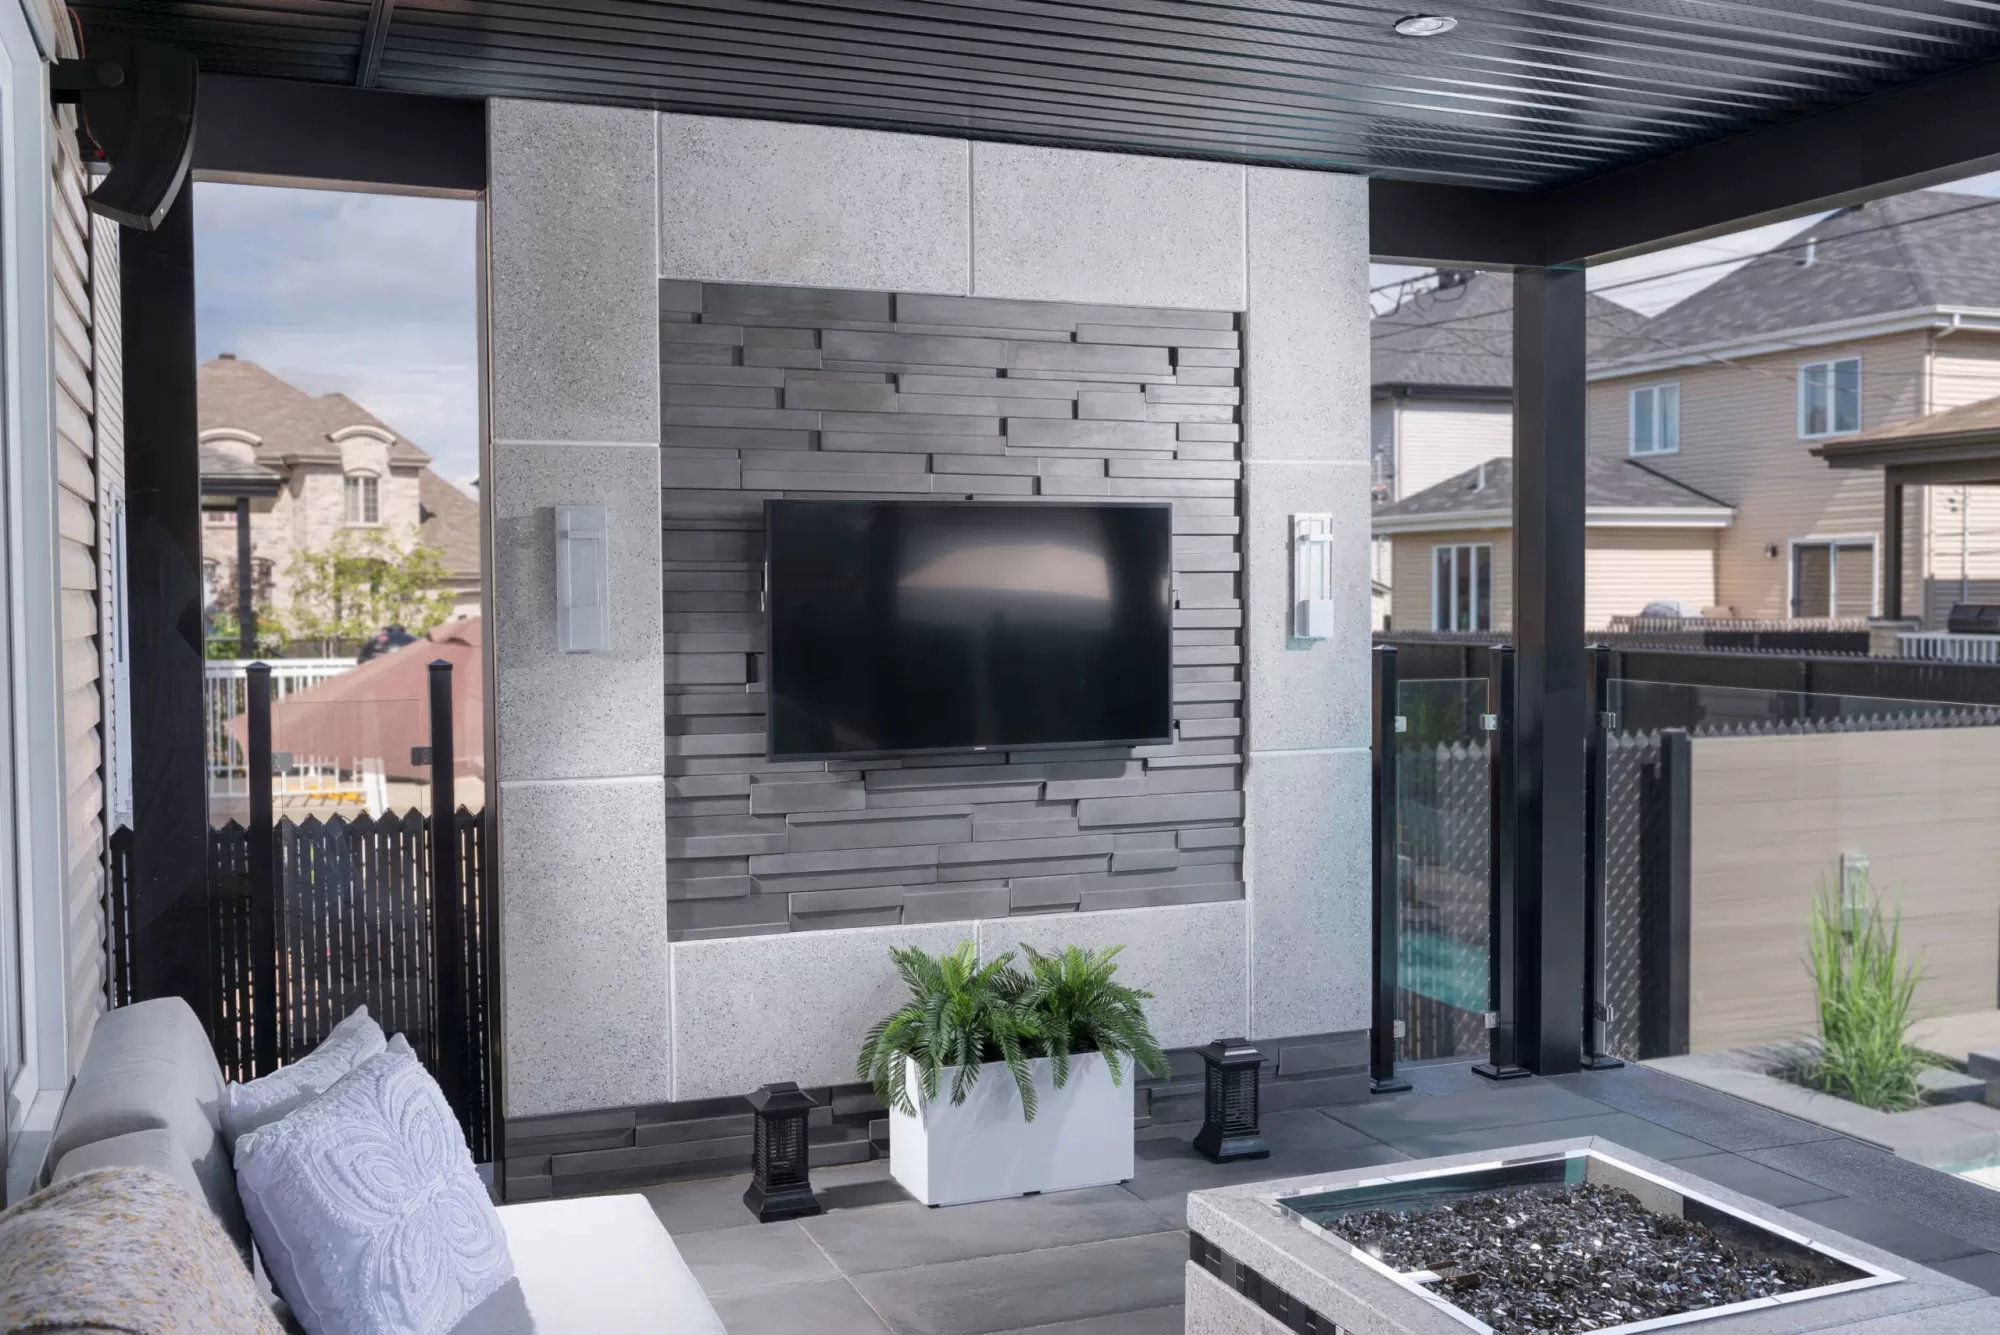
Step 1:
Firstly, make sure to have all the necessary tools :
-Bucket
-Trowel
-Cement
-Mixer
-Diamond blade saw
-Brush
-Drill
-Safety glasses and gloves
-Measuring tape
-Level
Step 2:
Prepare your walls following the national building codes, in order to guarantee a safe project.
Tip - Open the boxes of thin veneer product to mix the pieces, as a result the thin veneer stones will have a proper blend of size and color.
Step 3:
Follow the manufacturer's instructions to mix the polymer cement mortar. Be sure to work from the bottom of the wall upwards in order to facilitate the installation.
Step 4:
Apply 1/4" polymer cement on the back of the stone and 1/4" on the wall surface. Apply even pressure on the stone to ensure proper bond between the wall surface and the stone. Small amounts of excess polymere glue should overflow on the sides of the stone. If no polymer is seen from the sides, apply more mortar on the back of the stone. There are two types of thin veneer stones available : with mortar joint or without mortar joint. In the case of a thin veneer stone with a mortar joint, the size of the mortar joints can vary depending on personal taste.
Tip : In the case of a thin veneer stone installation without mortar joints, a small piece of wood trim can be placed between the stones to obtain the desired joint width and help maintain joint width consistency.
*It is important to always wear gloves and safety goggles when cutting any Rinox walls and stones. These products should be cut with a diamond blade saw.
Step 5:
Wait 12 hours for mortar joint glue to dry.
Finally, Step 6:
*Optional : In the case of a thin veneer stone with mortar joints, following the Rinox Linea system, begin filling the joints. Try to avoid getting jointing mortar cement on the surface of the stone. If this happens, wait until the mortar becomes slightly dry before removing it with a brush.
That's it! Six easy steps to stone installation.
For inspiration on thin veneer, decorative, interior & exterior stone visit our Alternative Masonry Collection. For other ideas visit our Lookbook!
Looking for some tips for your home? Watch this DIY thin veneer stone installation video using our alternative masonry products featuring Carson Arthur, your Outdoor Design and Landscape Expert!

