
A retaining wall is more than just a functional structure. It holds back soil, prevents erosion, and adds a polished look to your outdoor space. Whether you want to level out a sloped yard, create terraced gardens, or define spaces in your landscape, building a retaining wall is one of the most impactful improvements you can make.
The good news is that with the right preparation, tools, and patience, you can build a strong and attractive retaining walls yourself. In this guide, we will walk through the steps in detail, explain common mistakes to avoid, and share extra tips that will help you get professional-quality results.
Step 1. Plan Your Retaining Wall
Before starting your retaining wall installation, think about the purpose of your wall. Are you building it mainly for decoration, or does it need to hold back heavy soil on a slope? Decorative walls can be smaller and simpler, while structural walls need extra reinforcement.
Take time to measure your space carefully. Use stakes and string to outline where the wall will go. Check the height and length, and sketch out your design. If your wall will be taller than four feet, you may need a permit or professional engineering advice, since taller walls must withstand greater soil pressure.
Also consider your soil type. Clay expands and contracts with moisture, while sandy soil drains quickly. Both will affect how you prepare your base and backfill. A good plan saves you from costly mistakes later.
Step 2. Dig the Right Foundation
A retaining wall is only as strong as the foundation beneath it. Start by digging a trench that is wider than your blocks and deep enough to bury at least the first course. A general rule is to dig six inches deeper than the height of one block, plus another six inches for the gravel base.
If your yard is sloped, you will need to create a stepped trench that gradually rises with the land. This ensures that each block is level while still following the natural grade of the slope. Take your time at this stage. A properly dug trench prevents leaning and shifting later.
Step 3. Prepare the Base
Next, pour in a layer of crushed stone or gravel about four to six inches deep. Spread it evenly across the trench, then use a hand tamper or plate compactor to compact it firmly. The gravel base provides drainage and prevents the wall from settling unevenly over time.
Check with a level to make sure the surface is perfectly flat from end to end. Any unevenness at this stage will show up in the finished wall, so do not rush this part.
Step 4. Lay the First Row of Blocks
The first row of blocks is the most important. Place each block carefully on the compacted gravel, pressing it firmly into place. Use a rubber mallet to adjust the height and alignment.
Check every block with a level in all directions. If even one block is slightly out of place, the error will multiply as you stack more layers. Take extra care to get this first row perfect. Many professionals say that a level first row is the difference between a wall that lasts for decades and one that fails in a few years.
Step 5. Build Retaining Wall With Proper Drainage
Drainage is the number one factor in retaining wall performance. Without it, water will build up behind the wall and create pressure that eventually pushes the wall outward. To prevent this, place a perforated drain pipe at the base of the wall, directly behind the first row of blocks. Cover it with gravel, then wrap it with landscape fabric to keep soil from clogging the pipe.
As you add each new row of blocks, backfill behind the wall with gravel up to about 12 inches from the back. Then add compacted soil behind that. This layered backfill approach improves stability and keeps water moving away from the structure.
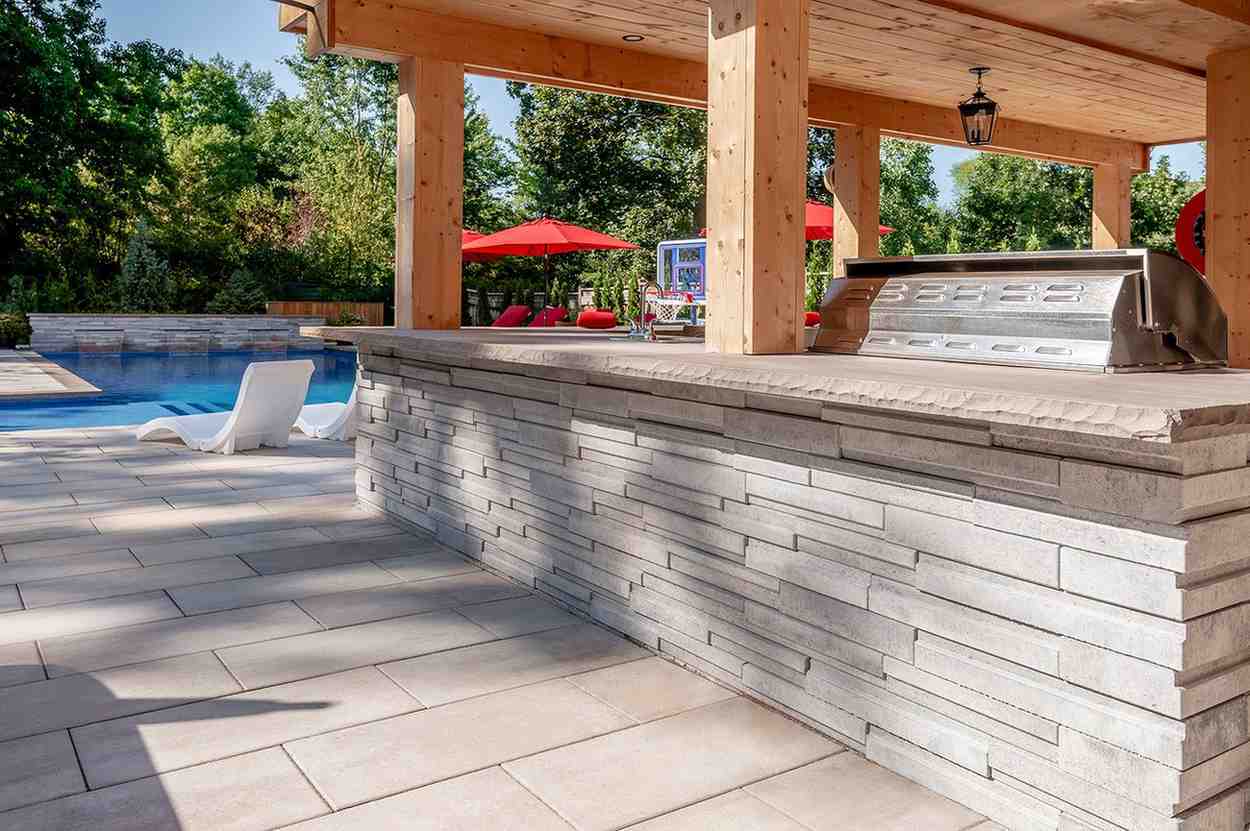
Step 6. Stagger the Joints and Reinforce if Necessary
When you begin stacking the second row, offset the blocks so that their seams do not line up vertically with the blocks below. This is called a running bond pattern, and it adds strength to the wall. Continue this staggered approach for every new row.
For an effective and secure installation use Rinox’s k-bloc system between each row.
For walls taller than three or four feet, reinforcement is often required. One common solution is geogrid, a special mesh material that ties the wall back into the soil. The geogrid is laid between rows, extending into the soil behind the wall, which distributes pressure and prevents the wall from tipping forward.
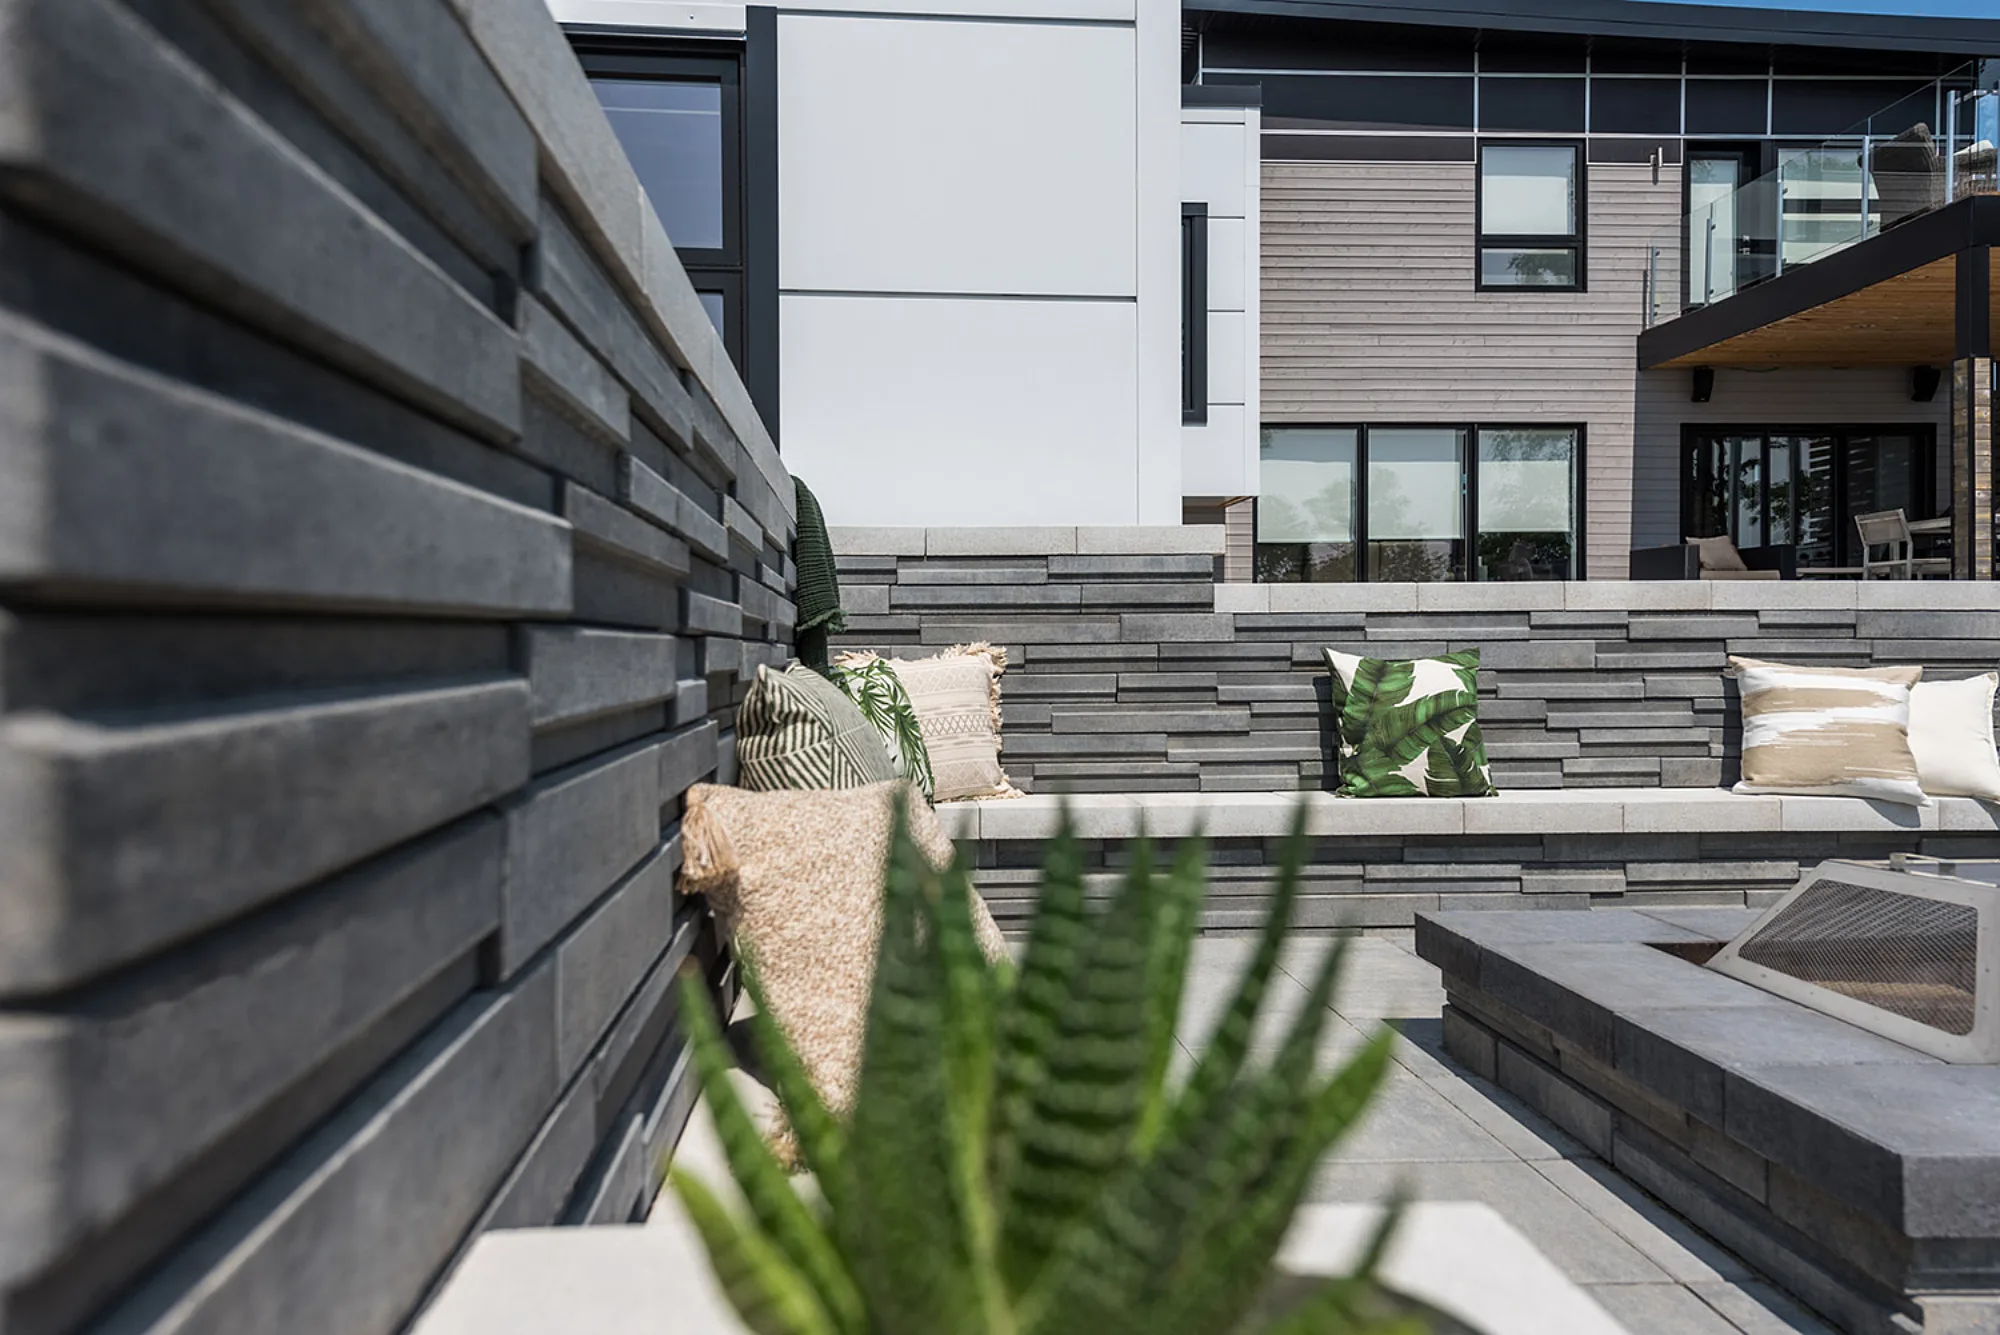
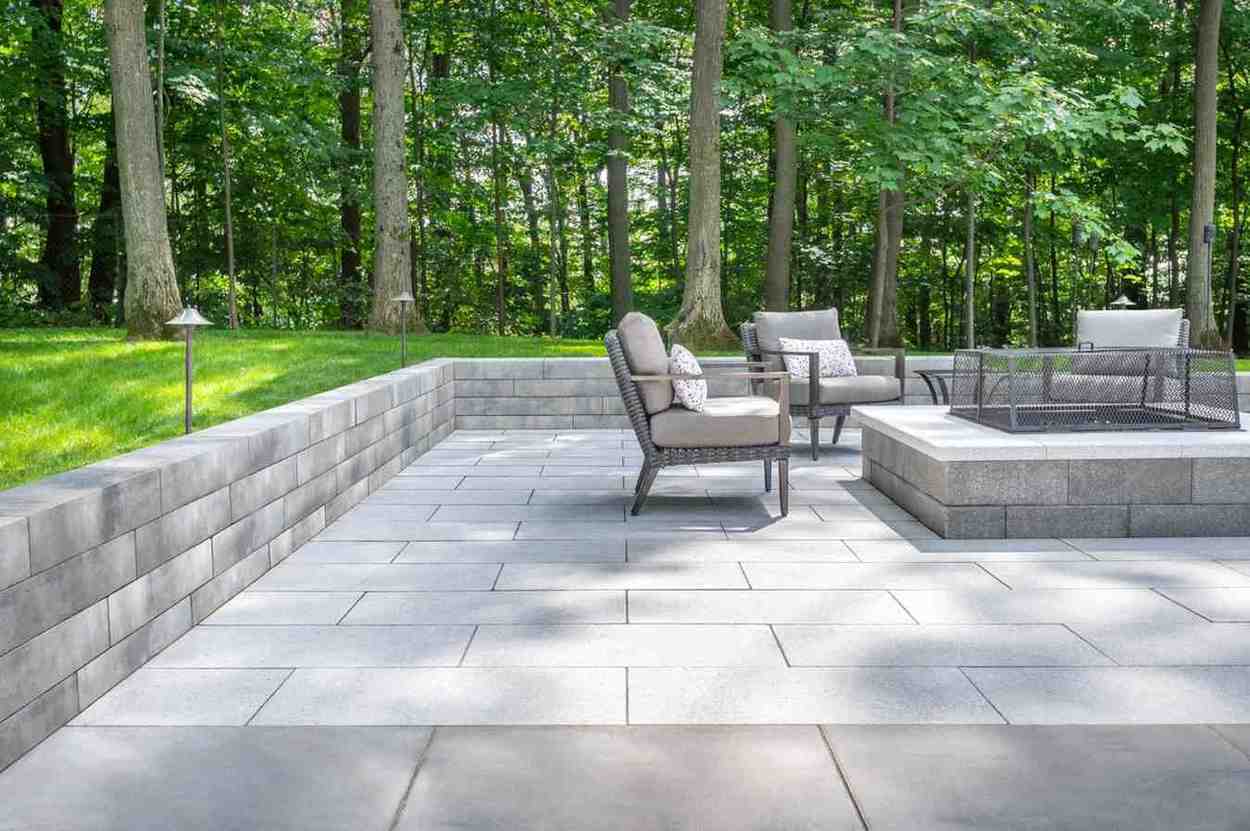
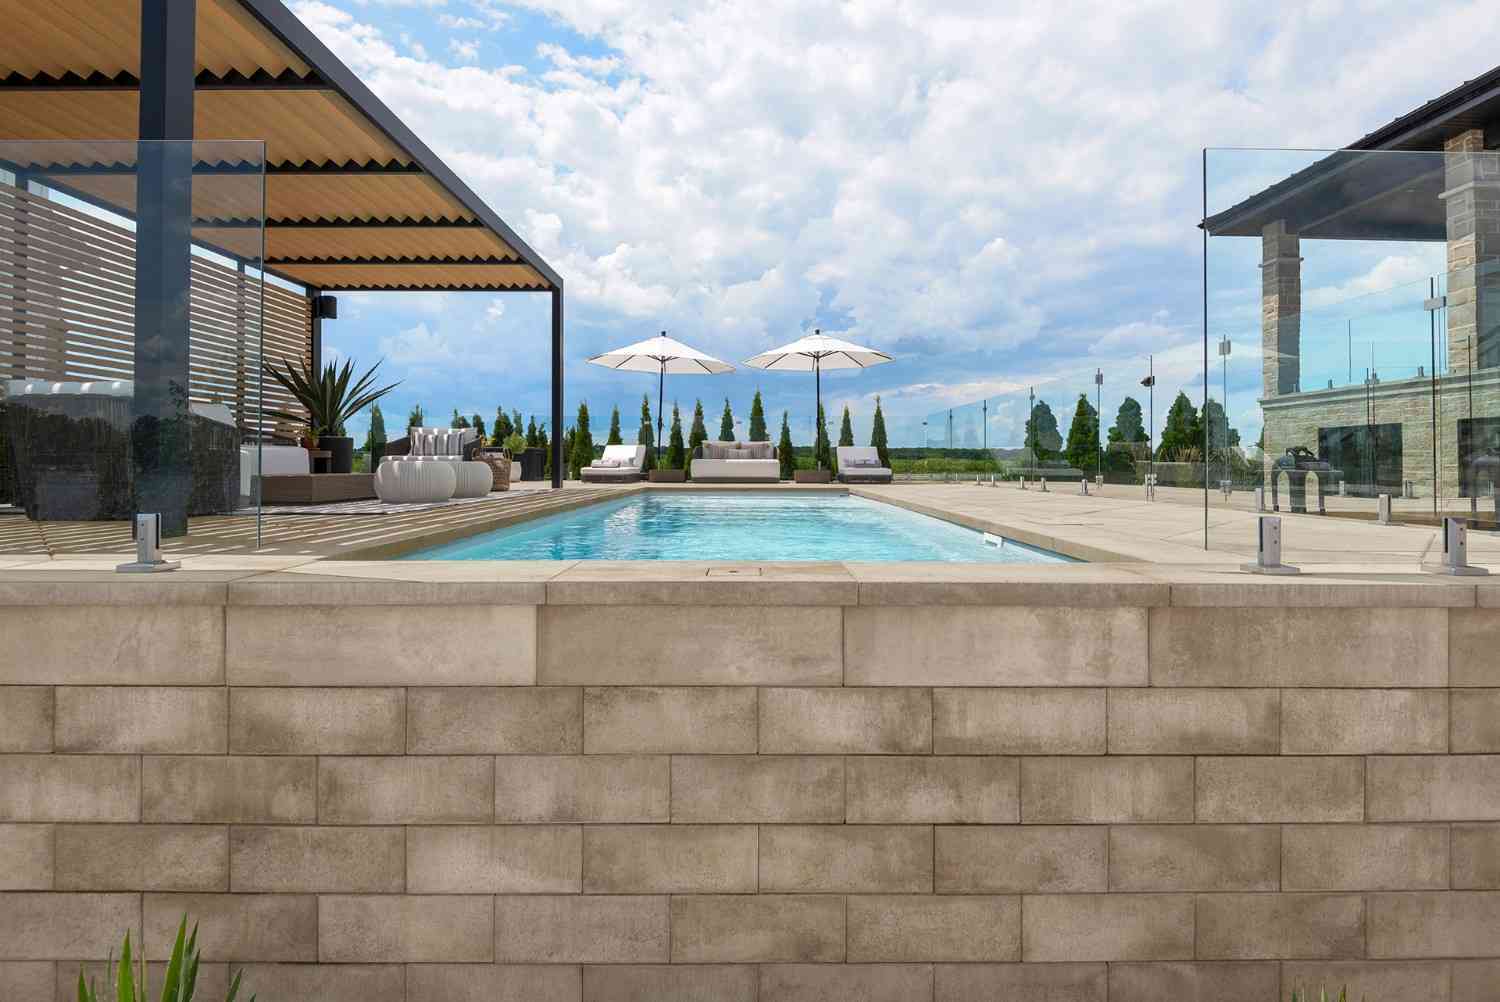
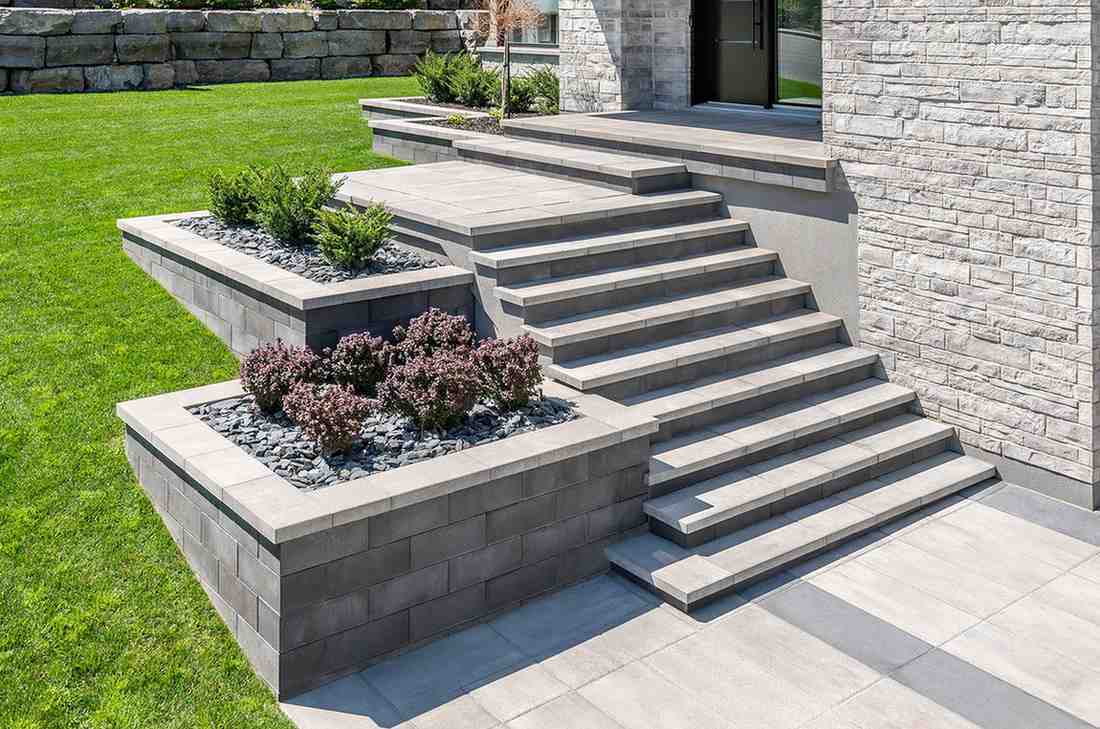
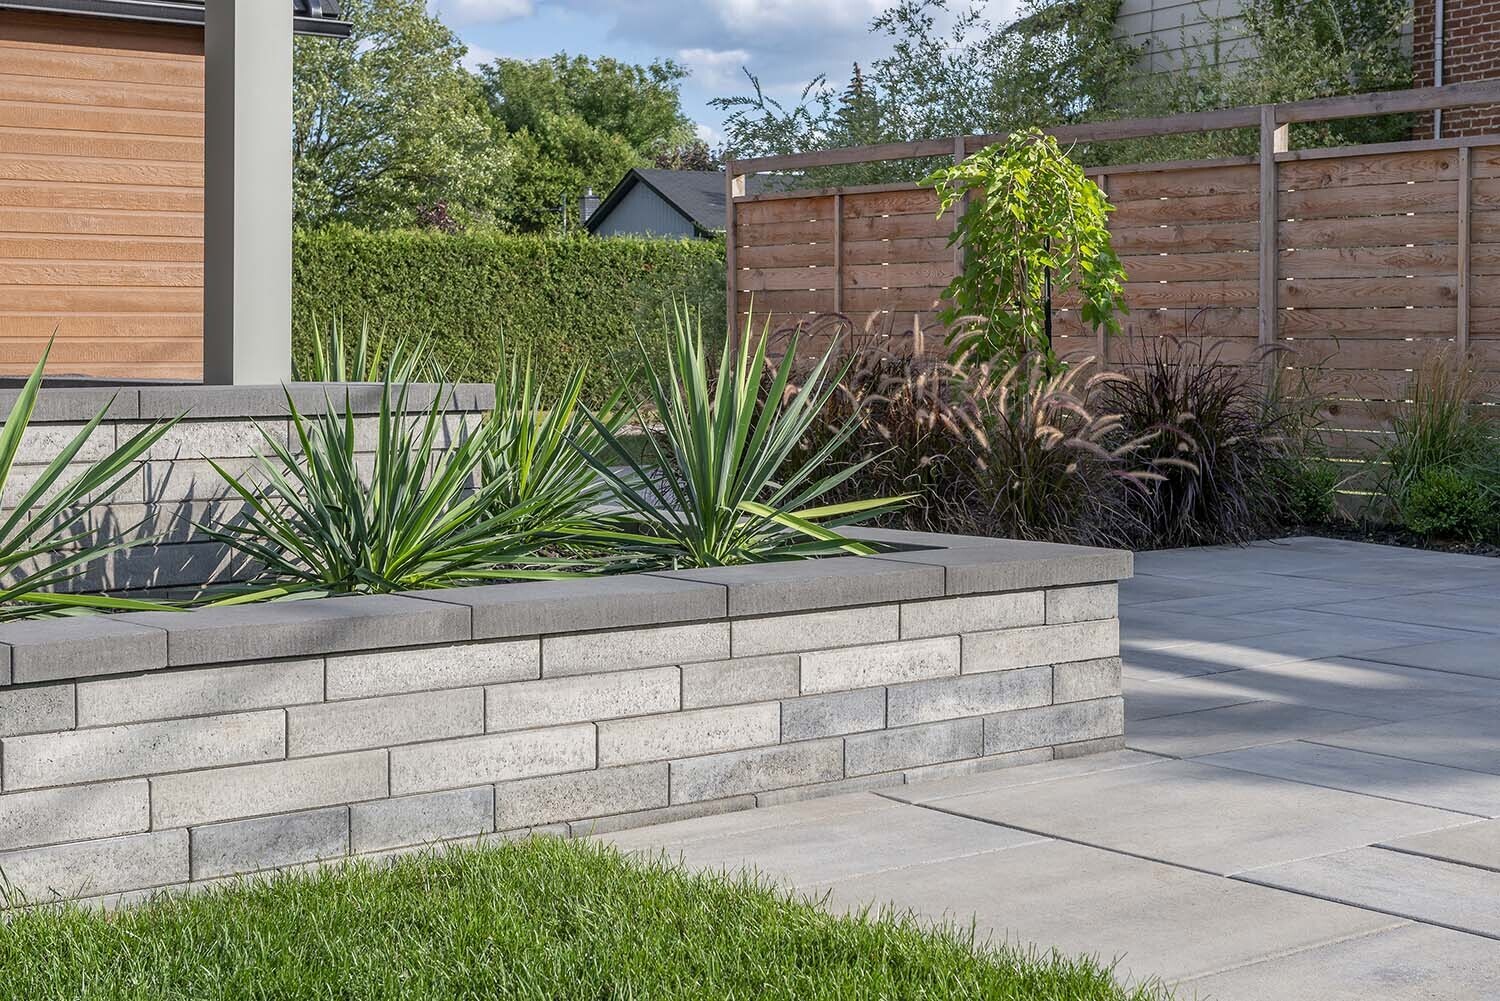
Step 7. Finish With Capstones
Once the wall reaches the desired height, finish it with capstones or coping blocks. These are slightly larger blocks that give the wall a polished look. Apply a strong outdoor adhesive to secure them in place. Make sure they are level and evenly spaced for a clean finish.
At this point, you can grade the soil behind the wall so that it slopes slightly away, encouraging water to run off rather than pool behind the structure. Adding mulch, plants, or decorative stones on top of the backfill is a great way to blend the wall into your landscaping.
Extra Tips for a Well Built Retaining Wall
- Always compact backfill in layers instead of dumping it all at once. This prevents settling and shifting.
- Keep checking your level as you go. Even small errors can throw off the wall.
- Avoid using soil alone as backfill. Gravel or crushed stone provides much better drainage.
- If you live in an area with heavy rainfall or freeze-thaw cycles, invest extra care in drainage. These conditions put more stress on walls.
- Taller or heavily loaded walls may need professional engineering. Do not hesitate to get help if your wall is more than four feet tall.
Looking for inspiration? Explore our blog on stunning retaining wall ideas to discover creative designs that blend strength with beautiful landscaping.
Common Mistakes to Avoid While Building a Retaining Wall
- Skipping the gravel base and building directly on soil. This leads to sinking and leaning.
- Forgetting to install drainage behind the wall. Water pressure is the main cause of failure.
- Failing to compact the backfill in layers. Loose soil will settle unevenly over time.
- Using blocks without staggering the joints. This reduces stability.
- Rushing the first row of blocks. A poor foundation guarantees a crooked wall.
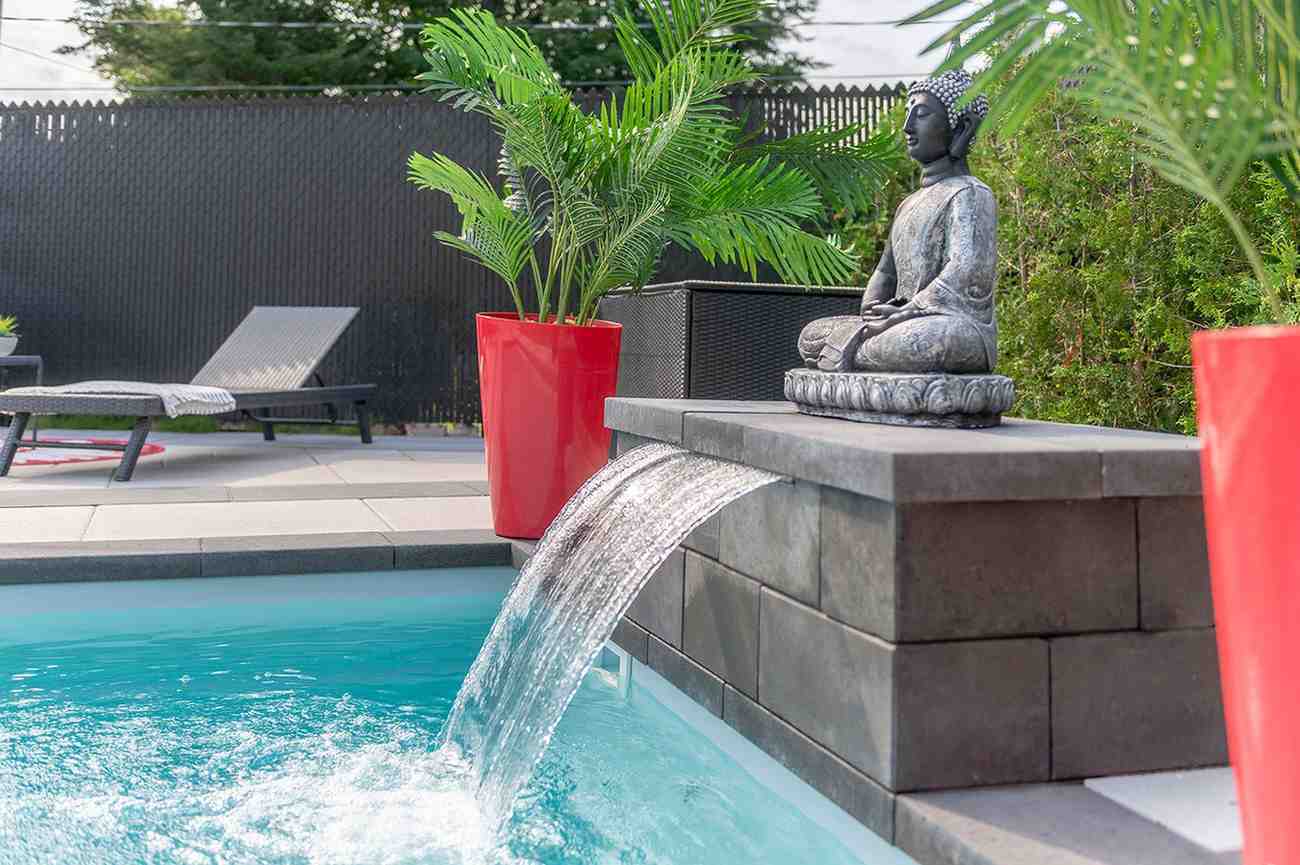
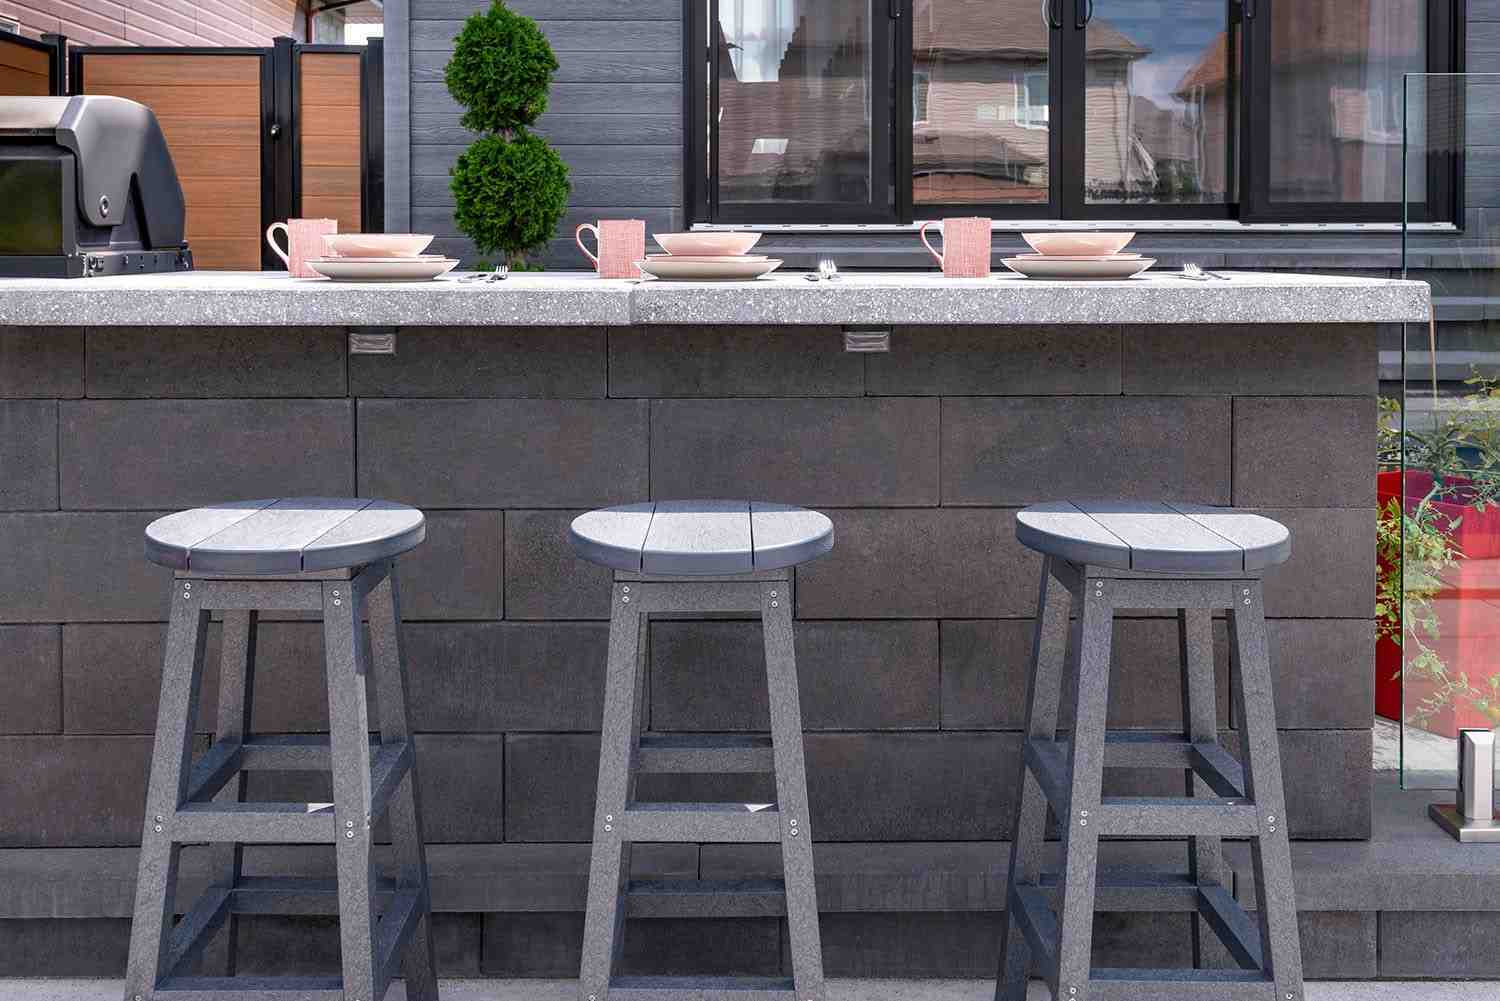
The Benefits of Rinox Retaining Walls
A properly constructed retaining wall does more than just hold back soil. It can create new usable areas in your yard, add dimension and texture to your landscaping, and even increase property value. With the right materials and care, it will last for decades with minimal maintenance.
PRO TIP : For the fastest installation system on the market, the K-Block is the perfect tool to help accelerate an installation that is both straight and efficient.
If you are looking for inspiration, materials, or professional-grade solutions, explore the selection of retaining wall products available at Rinox. From modern designs to timeless stone looks, Rinox offers options that combine durability with style.
Discover the full collection here: Rinox Retaining Walls
Conclusion
Learning how to build a retaining wall is one of the most rewarding DIY landscaping projects a homeowner can take on. With proper planning, a strong foundation, good drainage, and attention to detail, you can build a wall that not only improves the look of your outdoor space but also stands strong for decades.
Whether you are building a small garden border or a large structural wall, following these steps ensures your project will be both durable and attractive. If you prefer professional-grade products and design options, Rinox offers a wide selection of retaining wall materials that combine strength with style.